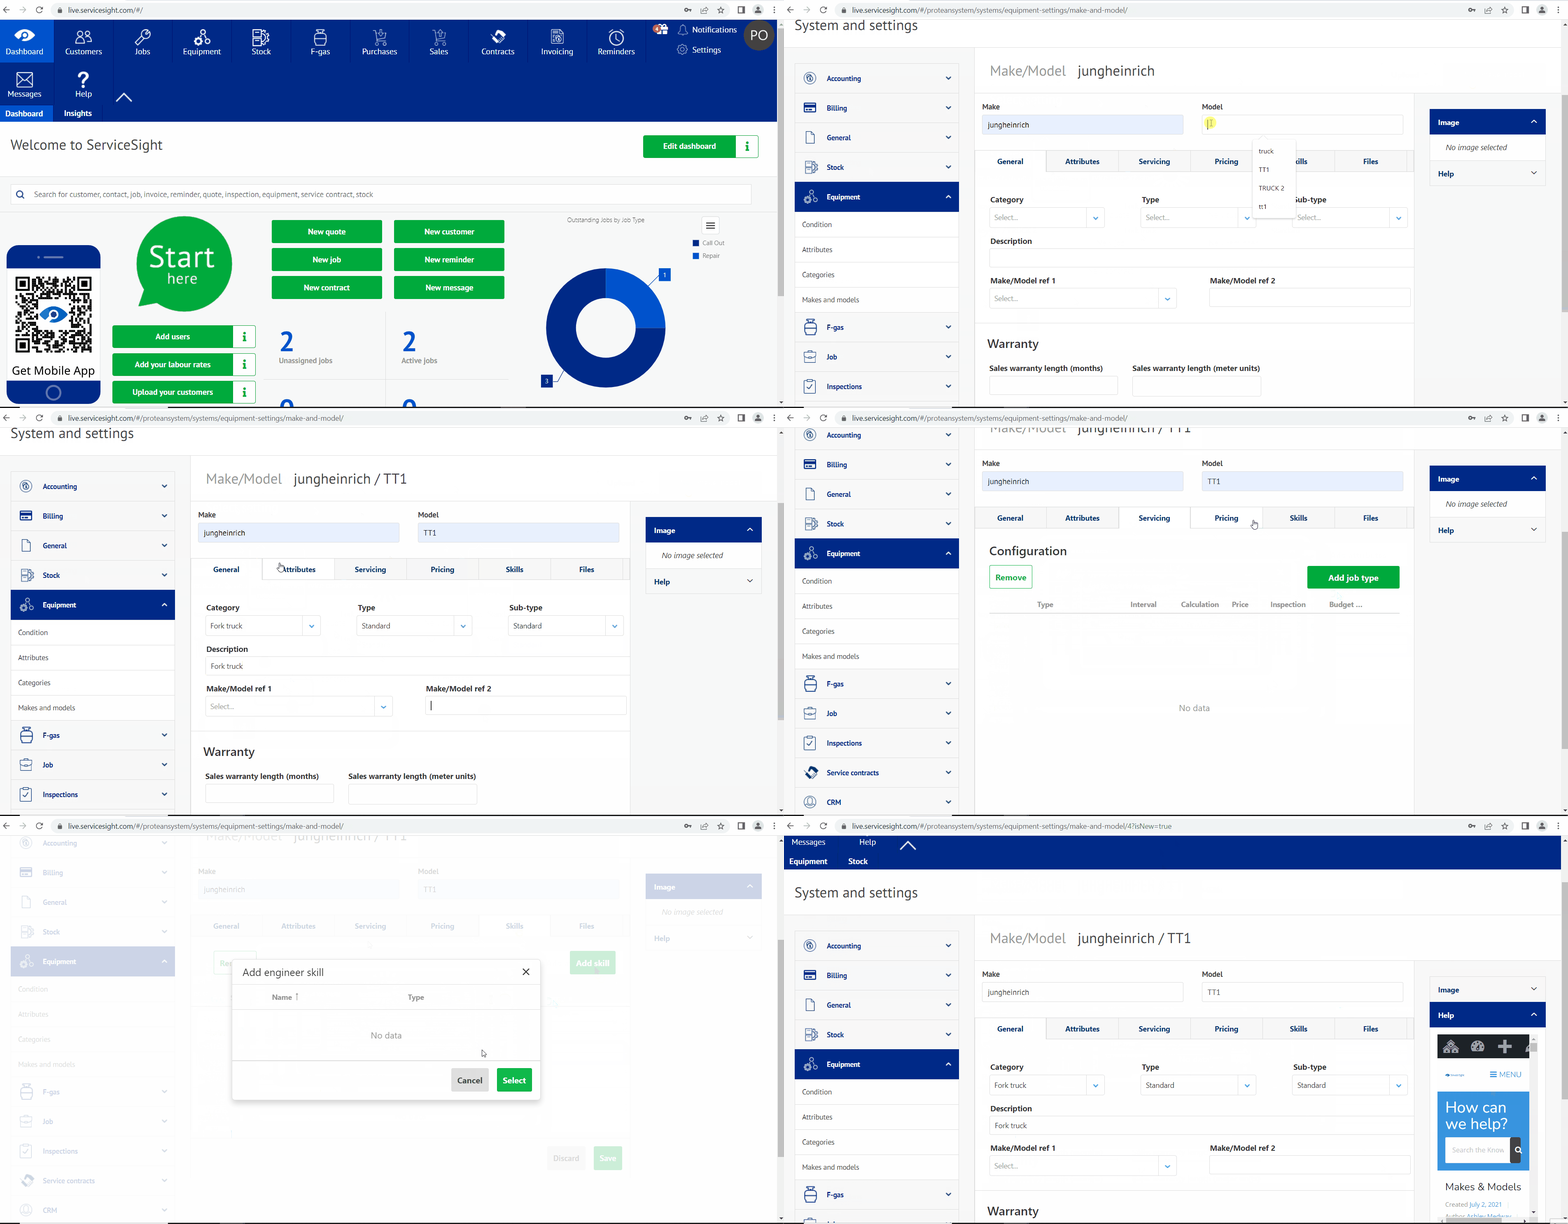
Make/Model
This section would be for when the user is adding a piece of equipment to website for customers. This section will allow you to not only add a new make and model, but also upload make/model records, and service schedules to this section.
Adding a new make/model
To create a new make and model just follow these next easy steps.
Click the icon in the upper right hand corner of the Service Sight home screen.
Click Equipment from the list of options on the left hand side of the screen and choose Select Makes and models.
From this screen you will be able to amend any current makes and models as well as creating new one as and when needed .
Changing an existing make and model.
To make changes to an existing, simply select equipment and make any name or note changes.
Creating a new new make and model.
To create a new one, select the green tab labeled ‘New make model’.
Once you have clicked New make model you have 6 sections to fill in with the details that you require.
General
Select General to start. First to fill out is the drop down menu’s for Category, Type, and Sub-type. Then select the option which reflects the equipment being added. Once done with these 3, move on to the next line, Description, and enter a short description of the item. You can then select a make/model reference 1 and/or 2 for the equipment. Finally in this section, you will fill out the sales warranty length, first in months and then in meter units.
Attributes
You can select the add attributes tab to bring up a pop-up on this screen and select an attribute to add to the equipment. This page will also allow you to delete any current attributes listed.
Servicing
This tab will allow to add a specific job type to the equipment by selecting the green tab labeled Add Job Type. Once selected you will get a pop up screen that will prompt you to select job types to service schedule. After these have been added, select save.
Pricing
The first drop down is the supplier section, where you can select what company this equipment comes from. The next blank to fill in is the buying price. You enter what it would cost to purchase the equipment. Following this is the lead time in days, of how long it would take. Once entered, you move down to the sales area where you enter the RRP (recommended retail price) and the selling price.
Skills
The following section is Skills. This is where you can add a technician skill level for the equipment. After completed
Files
Here again you can either delete current files or upload new files for the new equipment.
Once all 6 sections have been completed press the green save button to save the information and the equipment will be saved to the system.

