
Possibly the most important tool at your disposal is a detailed customer database. ServiceSight enables you to hold details on both prospective customers, billing addresses & site addresses ensuring you can keep track of where jobs are & who owes you money. The customer list shows you your full list of customers, sites & prospects regardless of status.
Customer List
The customer list shows you the following information in a list format:
Logo; Account No; Type; Name; Address; Phone; Status; Credit Hold
Creating New Customers & Prospects
To create a new customer from the customer list simply click the green ‘New customer’ or ‘New prospect’ button on the right. You will be taken to the new customer wizard to walk you through the process of quickly & easily creating a new customer.
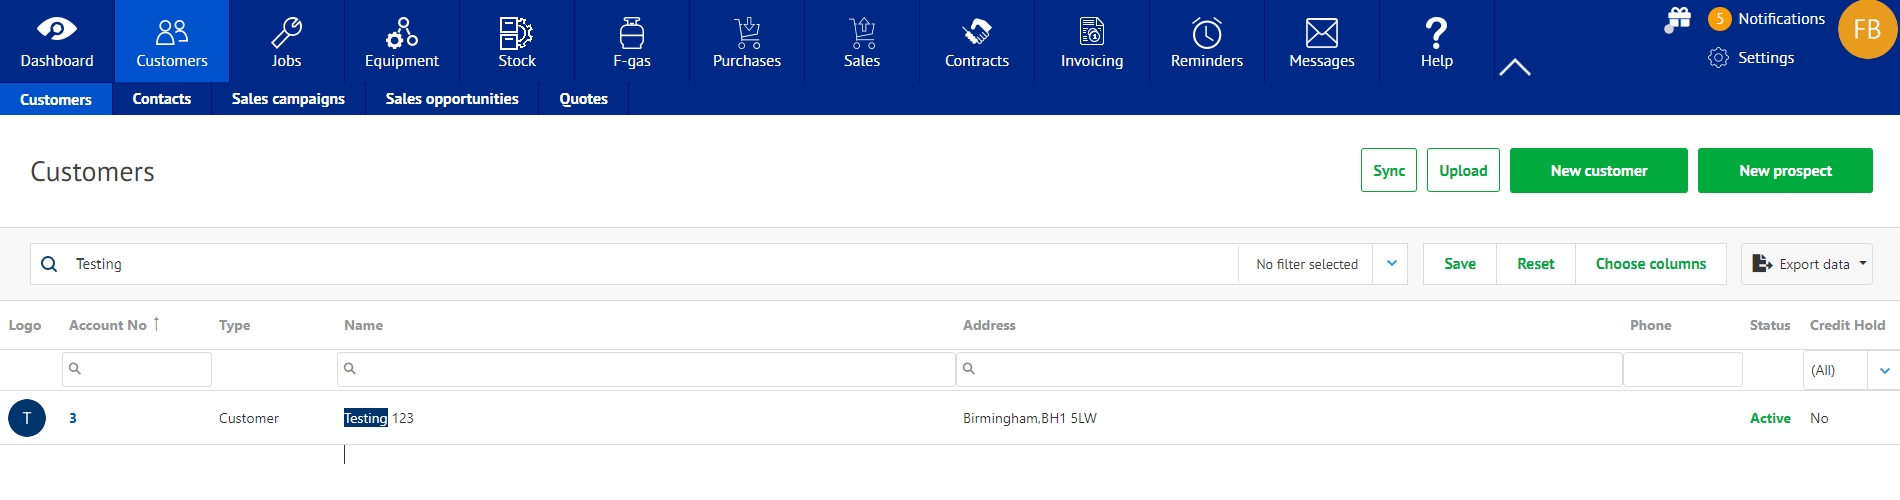
Using the Search Bar
Rather than creating new customers you may be looking for an existing one, to update it, or to check on their status. You can use the search bar to filter the list of customers by any information contained within the customer you are looking for.
- Simply type the information you have and click the ‘search’ button on the right-hand end of the search bar. The list will be filtered by the text you have entered.
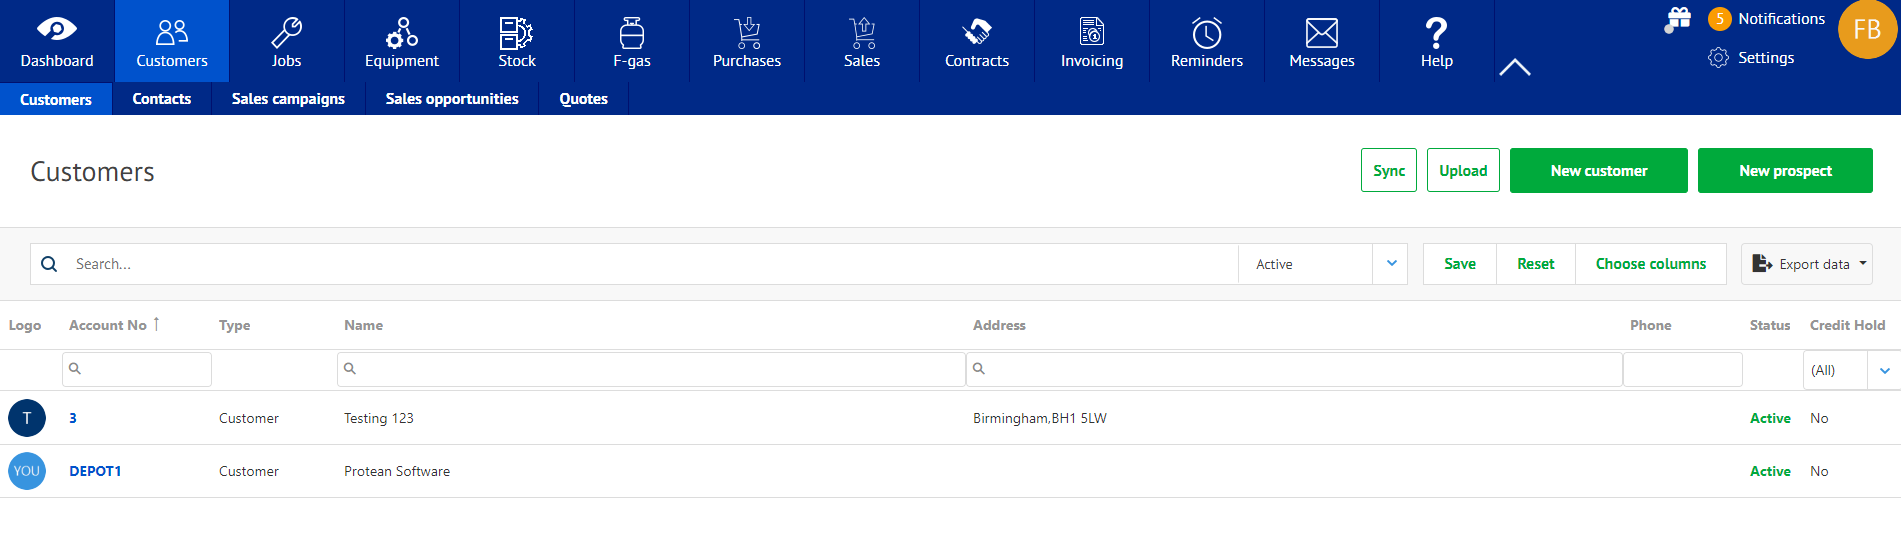
Filtering the Customer List
As well as typing your own filters in the search bar you can make use of a set of predefined filters available to you.
- Click the blue arrow in the ‘No filter selected’ box at the top of the job list.
- Select the filter you want to apply:
No filter selected Shows all customers of any type
Prospects Shows only prospective customers
Active Shows all your current customers & sites
Closed Shows only those accounts that have been closed

In the above example, if I select the ‘Active’ filter the list is filtered to show only those customers that are active customer accounts & the site addresses associated with them.
Sorting the Customer List
As well as filtering the list of customers you can also choose how to sort the list as well.
-
- To sort the list of customers click the column heading of the field you wanrt to sort by.
- For example, if you wanted to sort the list by Name, click on the word ‘Name’ in the list.
- The list is sorted alphabetically by name and an arrow appears next to the column heading to show how it is being sorted.
- You can also sort in reverse alphabetical order by clicking ‘Name’ again. This will flip the list and show customer starting with letters at the end of the alphabet first.
Resizing & Reordering Columns
If required you can both reorder the columns as they appear in the list as well as resizing the column widths.
- To resize a column simply hold your mouse over the joins between the columns.
- Your mouse cursor will change to a double headed arrow.
- Click & drag the column join to its new position to increase or decrease the column width as needed.
- To reorder the columns click and hold the column heading of the column you wish to move.
- Drag the column to its new position and let go of the mouse button.
- The column has moved to its new position.
Viewing a Customer
To open up a customer to view the detail simply click on the blue account number on the left-hand side of the list. This will open the customer detail screen.
Note: If the logo has a small factory symbol superimposed on it then this designates this entry as a site, rather than a billing address. It should also have a ‘Type’ of ‘Site’, rather than ‘Customer’.