Customer Upload
ServiceSight incorporates a powerful import tool to help you upload your customers from CSV or Xcel file formats. If you are linking to an accounts system like Xero or QuickBooks then you do not need to do this as your customers will be imported for you as part of the account sync.
- Either click on the ‘Customers’ icon on the menu bar and choose the ‘Upload’ button at the top-right or use the ‘Start here’ widget on the dashboard.
- The Customer upload screen will open.
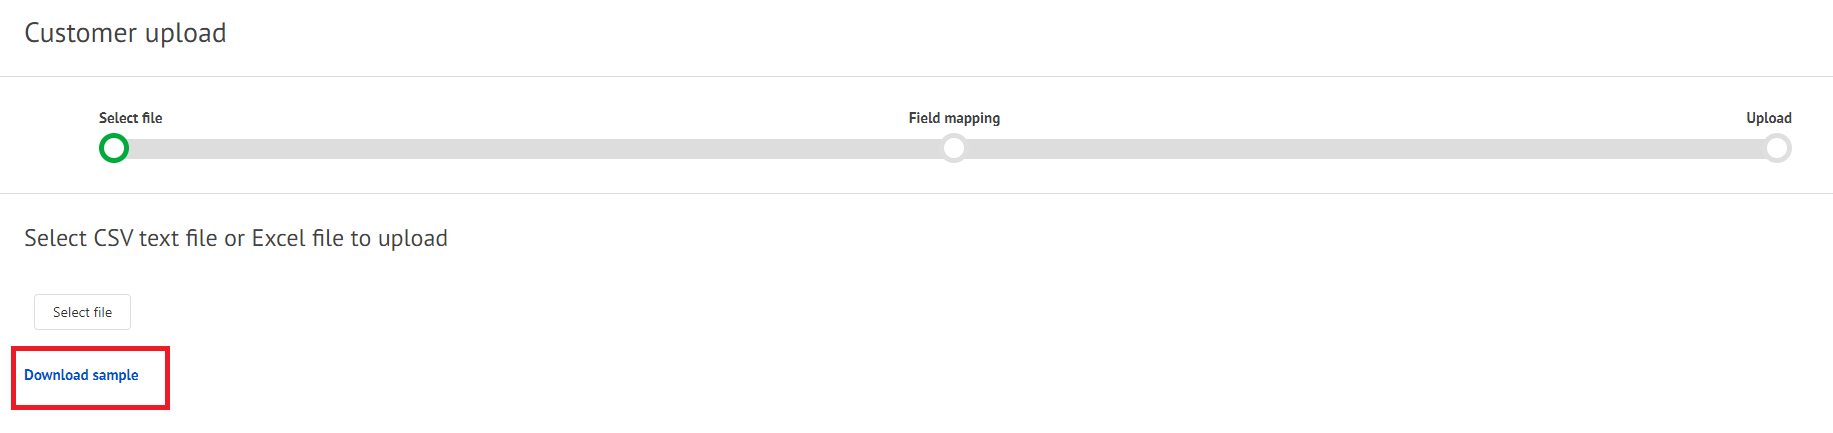
- At the top of the screen there is a timeline to help you see where you are in the upload process. When you first open the upload screen this will be highlighting the first step – select file.
Selecting Your Datafile
- Underneath the timeline you can select the file you wish to upload that contains your customers. The file can either be in CSV or Excel format. Click anywhere on the control here to open a normal dialog screen allowing you to browse your computer and select the file.
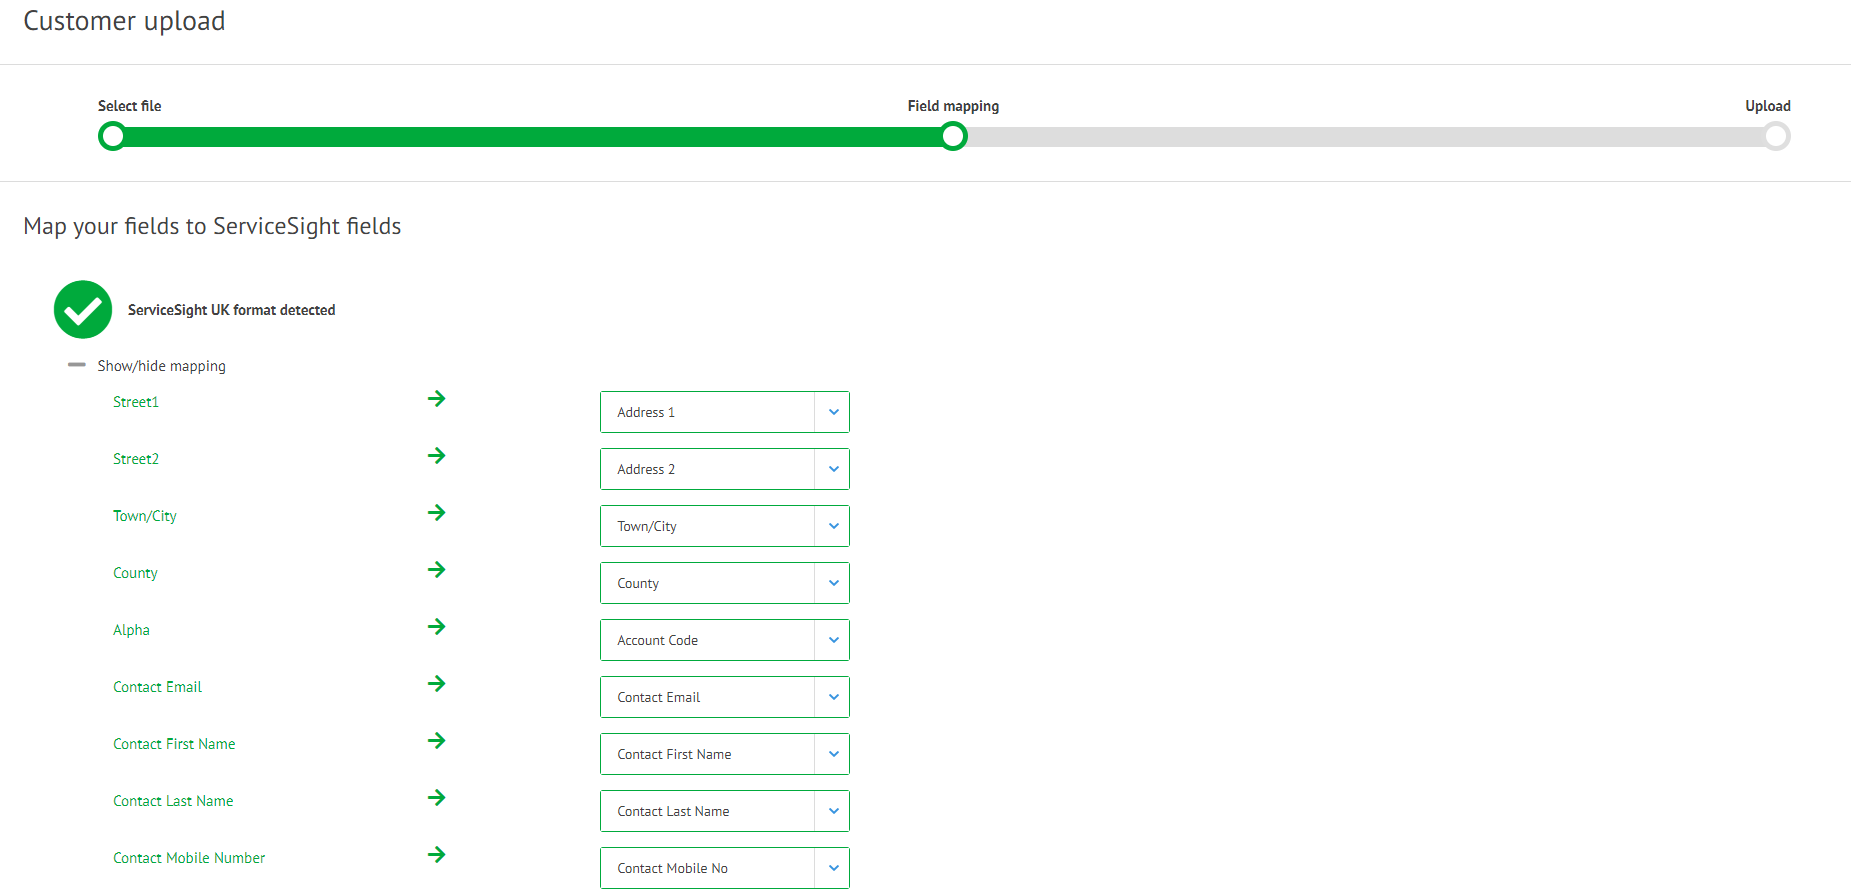
- The timeline now indicates that you are at the field mapping stage of the upload, where you can select which column of data in your file maps to which fields in ServiceSight.
ServiceSight Formats That Are Auto-Mapped
- ServiceSight will look at your file and see if it matches a format it is aware of:
- ServiceSight format (you have downloaded the sample file and populated it.
- QuickBooks
- Sage 50
- If one of these formats is detected then the mapping happens automatically and you can move straight onto the next step by clicking the ‘Next’ button at the bottom of the page.
Mapping Fields Manually
- If you are uploading a file that is not a known format then ServiceSight will open the list of fields that require mapping and attempt to link the fields in file with the fields in ServiceSight.
- Some fields it will be able to populate and these will be green. Others, marked as ‘No Match’ you will need to select yourself.
- To do this simply click the arrow to open the list of fields and select the appropriate field from the list.
- Once you have mapped all the fields you are ready to proceed by clicking ‘Next’ again.
Verification
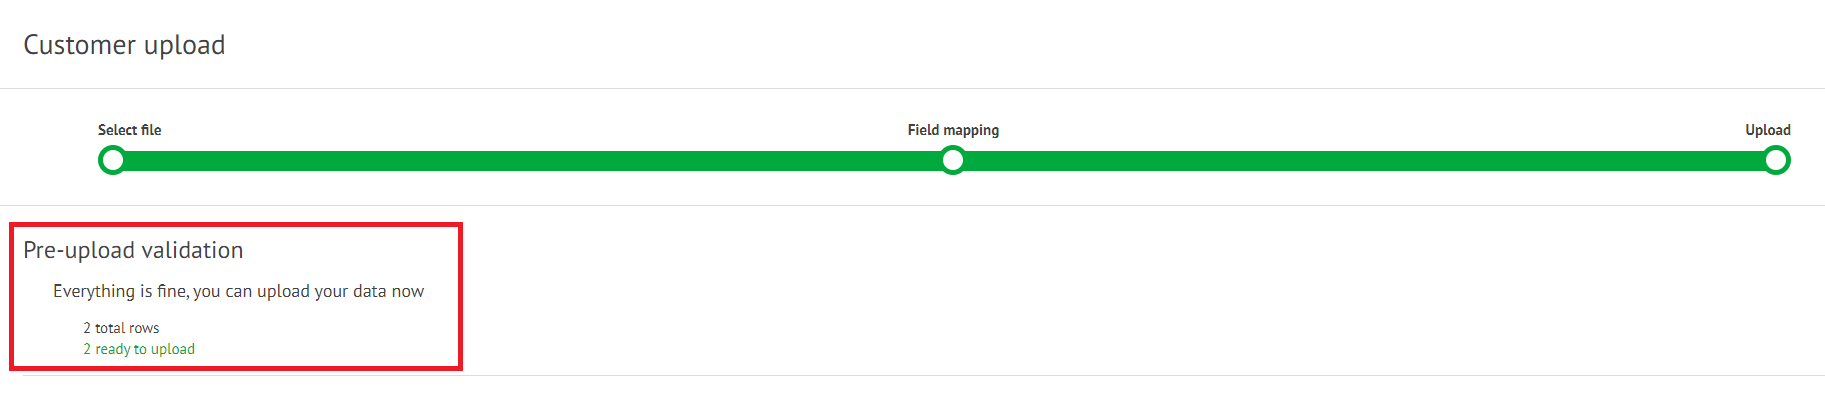
- This is the final step before you can upload your customers into ServiceSight. So far we have selected the file containing the data we want to upload and we have mapped the fields, if needed, to the correct fields in ServiceSight.
- ServiceSight verifies your data automatically.
- If everything is OK you will receive the message ‘Everything is fine, you can upload your data now’. Underneath it will display how many customers are in the file and how many it can safely upload.
- If there are issues with some of the data this will be detailed here. ServiceSight will inform you which records and which columns of data are causing an issue. For example the Post Code field might have been mapped to a Phone Number, or a required field, such as Customer Name, might be blank.
- You can choose to fix the errors and try again or upload the ‘good’ records now and worry about the rest of the data later.
- When you are ready click the green ‘Upload’ button.
Upload
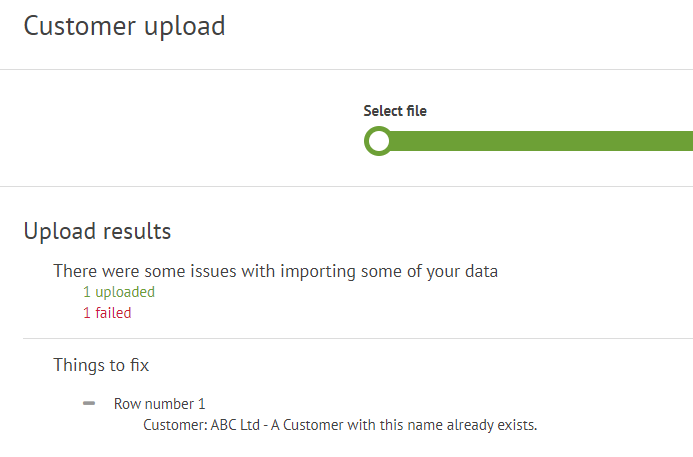
- After the upload has occurred you will receive feedback from the system.
- You will be informed how many records have successfully uploaded and if any failed, and if they did, why.
Downloading your Customer Import File
- If you do not yet have a file containing this data you can download a sample Excel spreadsheet that you can populate
- Once you have filled in the sample spreadsheet you can then return and upload it here.
- Once you have selected your file then click the green ‘Next’ button (4) in the bottom right-hand corner of the screen.