Stock
Stock, also labeled inventory, can be found located on the main screen at the top toolbar. This not only allows you to view the parts you have in stock, but also allows you to make different inventory adjustments. In the inventory tab, you will be able to see the part numbers, the type of parts, as well as how many are on hand and how many are available. All of this can be edited from the website via the user. From this site you can also add new parts and upload Excel files or CSV text files to fill out this section of parts as well. The adjustment section allows you to see what adjustments have been made to the stock levels as well as make new adjustments as they are needed.
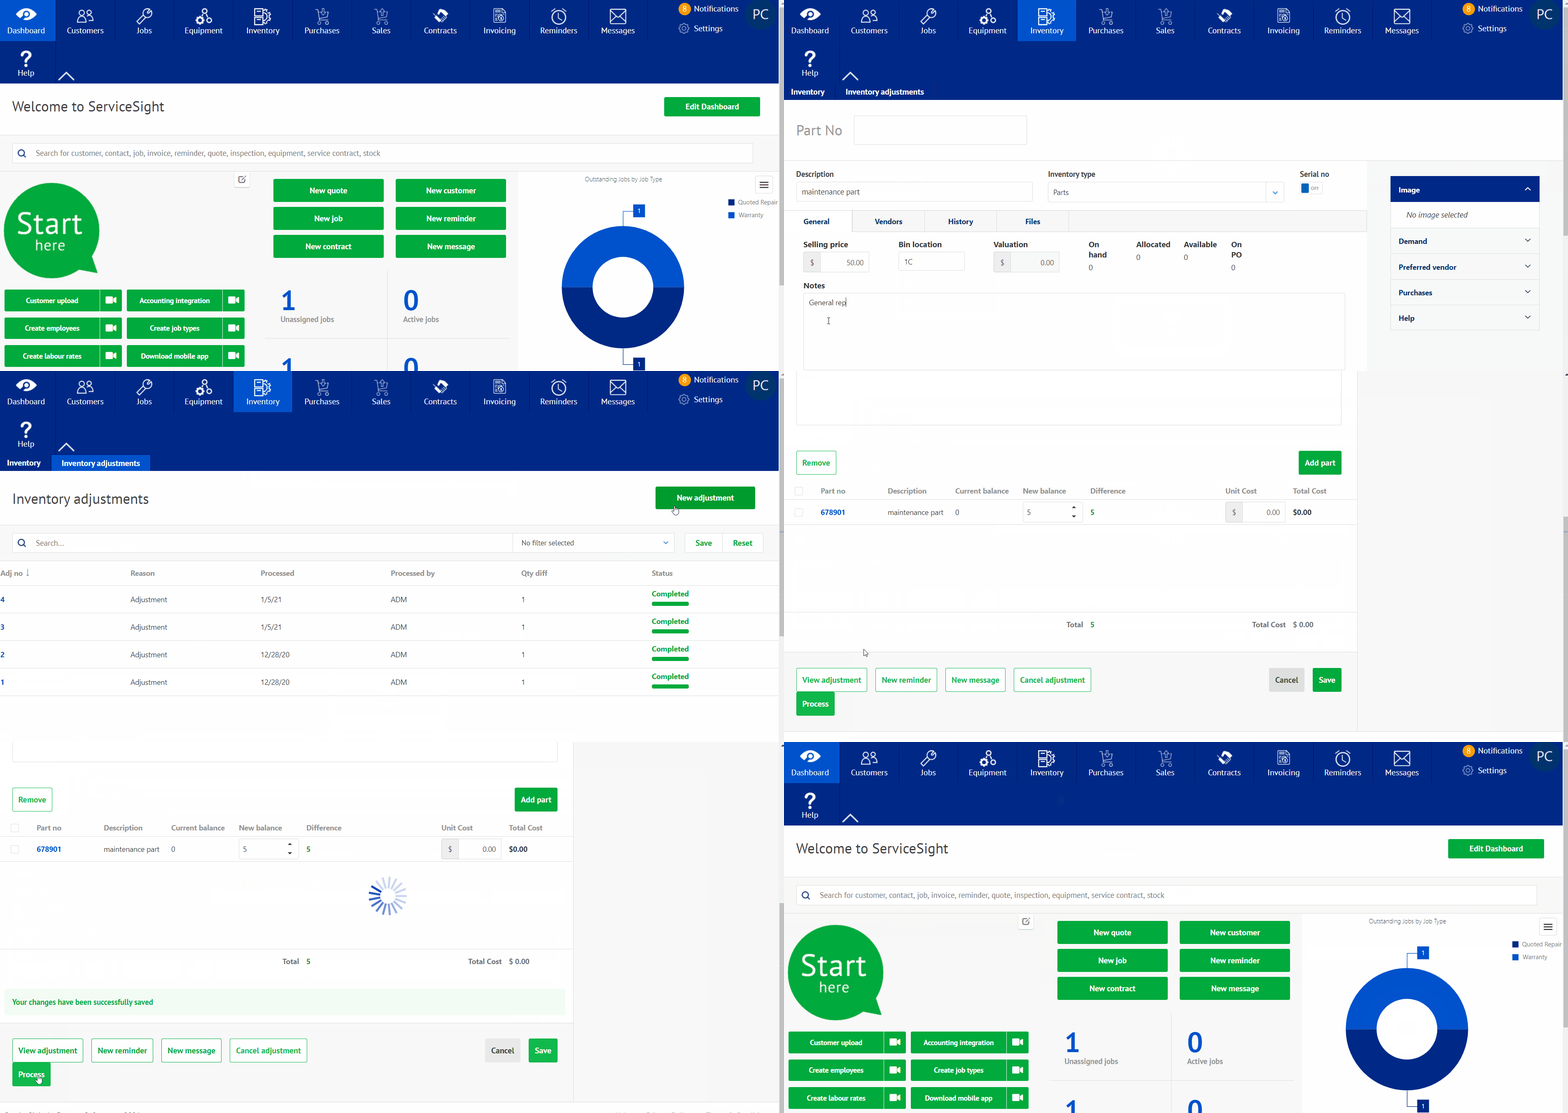
When starting, select the inventory icon located on the home screen. This will take you to the page needed. Once there, you will see your current stock, and whether something is on hand or not. To change that, select inventory adjustments located at the top. When selected you will be taken to the adjustment page where you can select a new adjustment and view the previous adjustments as well. To add a new part, select the green New Part tab at the top. this will take you to a page where you can give the part a number, a description of the item, the type of inventory it is, and the price along with any notes on it, bin location, and any references for the item. At the bottom you can add any item manufacturer information. When done, you can continue to add a vendor, any item history, or files regarding the item.
Adjusting the inventory can happen when you select the New Adjustment tab on the inventory adjustments page. When selected, you can select the reason for the adjustment. Once selected, you can add the notes in on the adjustment. Below that section, the user will add the part being suggested, which will allow you to enter a new balance and then save the change.

