
ServiceSight’s internal messaging system allows email-like messages to be sent and received by users of the ServiceSight system. Messages can be sent from the ServiceSight web application to other user of that application or to engineers using mobile devices and vice versa.
Receiving & Reading Messages
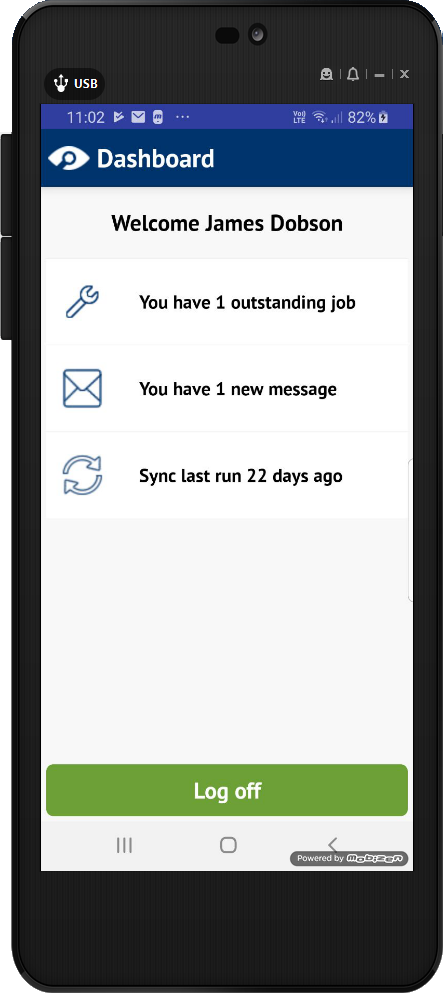
Messages can be accessed from the envelope icon on the Main Menu. By default the number of unread messages is displayed next to the icon. This will update every time the Service Sight app syncs.
Tapping the icon will display the list of messages. The messages could be direct to the user, sent to the user as part of a group or could be sent as part of a notification for a new or existing job to alert the user that something has changed on that job.
Unread and read messages are distinguished by a closed or open envelope icon to the left of the sender’s name. If an attachment was added to the message before it was sent, a paperclip icon will appear to the left of the subject line.
- Tapping the individual message line will display the contents of that message.
Tapping the menu button (three vertical dots in the blue header bar) whilst in the message inbox screen will display 4 options. From here the user can perform the following functions:
Jobs – tapping this takes the user to the job screen.
Outbox – Displays the devices outbox and shows any message that has been marked to be sent, but has not completed sending.
Refresh – Instructs the device to refresh the message list and collect any new messages from the ServiceSight server.
Sort By – Allows the user to change the sort order of the messages displayed on screen. The three options are ‘Sender’, ‘Date received’, ‘Subject’ and may be helpful for when trying to locate a message.
Use the green New message button which allows the user to create a new message to send to another ServiceSight user.
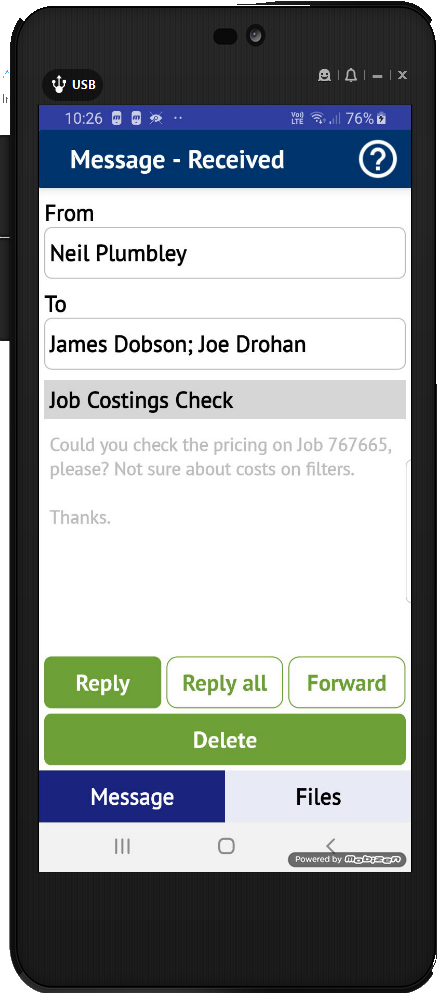
Tapping a received message item from the list displays the message itself. The message can also be accessed from the submenu that appears when tapping and holding on the message item in the message list.
The message content screen is split into 2 sections, ‘Message’ and ‘Files’. The screen will default to display the message tab and shows the senders name, the name of the recipient, the subject of the message and the body text of the message.
The files tab at the bottom of the screen displays a list of any attachments that have been added to the message. Tapping the attachment will download the file and allow the user to view any file for where an appropriate reader is installed on the device (you may need to download additional software to view certain file types).
Replying, Forwarding & Deleting a Message
- Tapping reply creates a new message addressed back to the sender of the message you have received.
- Reply All creates a new message addressed back to the sender of the message you have received, but also copies in all those others to whom the message was sent.
- Forward creates a message with a blank recipient so that this message can be passed on to someone else.
- All of the above options will include the original message text in the body of the message you send back.
- Tapping delete will delete the message. Note that no additional warning is given and the message will be deleted when this button is tapped
Creating New Messages
- Creating a new message without replying to a received message can be achieved by navigating to the message list, tapping the menu button on the device and tapping the ‘New Message’ button.
- Depending on the option selected above the ‘To:’ field may already have been populated, as will the ‘Subject:’ field.
- The user can specify whether a Delivery Receipt or a Read Receipt is required. If checked, the user will receive an additional message when the message sent is received and then again when subsequently read by the recipient.
- To change the recipient of the message the user should tap the ‘To:’ field. This will present the user with a list of all the available recipients on the ServiceSight system.
- Multiple recipients can be selected by tapping each. The selected recipients will display a green tick to the right of the name. Once all recipients have been selected tap Ok to confirm.
- Attachments can be added to the message by tapping the attachments tab and then the ‘Add’ button.
- Four options allow the user to take and attach a photo, attach an existing image file, attach another document or attach a video to the message.
- Once an item has been attached to a message the device will present the user with options to either ‘Send’, ‘Save’ or cancel the message. Tapping ‘cancel’ removes the attachment from the message. A message can also be saved as a draft, sent or deleted by tapping the menu button whilst on the message composition screen.
Leave A Comment?